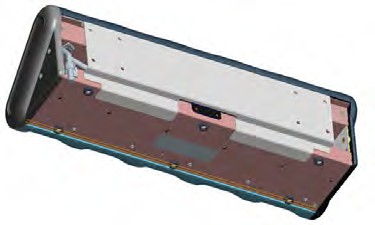
A500 Combination Charger Wall Mount
This unit provides a convenient surface for mounting the A500 10-Bay Combination Charger and its power supply on a wall.
- Customer assembly required.
- Be aware of potential hazards (electrical wires, waterlines, etc.) when drilling the pilot holes.
- Customer assumes all responsibility for the installation of these units.
- A device charger cannot have another charger placed directly above it. A section of dry-erase board (included) must be placed above each device charger.
- If you drill into a wall stud when drilling a pilot hole for one of the anchors, do not use an anchor with that hole.
- The lowest anchor for each extrusion must be a minimum of 12 inches from the floor.
- Avoid blocking power outlets and other wall receptacles when installing the extrusions and charger unit.
| Parts | You need |
|---|---|
|
|
- Using the drilling template, mark four holes for the anchors. Note that there are two sets of pilot markers; one set for wall studs with 12 inch centers and one set for wall studs with 16 inch centers.
The bottom anchor holes must be at least 12 inches from the floor. - Drill the pilot holes for the anchors, and screw the anchors into the holes.
- Position the mounting bracket so that its flat side is against the wall, aligned with the anchors, and the mounting pins are away from the wall.
- Insert a screw through a washer and a hole in the bracket, then into the anchor. Tighten screw. Repeat for remaining screws.
- Tilt the charger back and slide it onto the wall by lining up the tabs on the top of the bracket with the notches in the back of the charger.
- Level the charger so the supports on the bottom of the bracket are underneath the charger.